Making candles at home is one of the most rewarding crafts you can pick up. It’s surprisingly simple, wonderfully creative, and there’s nothing quite like lighting a candle you’ve made yourself. Whether you’re looking for a relaxing new hobby, want to make personalised gifts, or you’re curious about turning it into a small business — this guide covers everything you need to get started.
This article contains affiliate links to Amazon. As an Amazon Associate, we earn from qualifying purchases at no extra cost to you. See our full disclosure.
We’ll walk through every step: choosing your wax, picking the right wick, adding fragrance, and pouring your first candle. By the end, you’ll have the confidence to make beautiful candles at home, even if you’ve never done it before.
What You’ll Need to Make Candles
Before you start, gather your supplies. Here’s the essential kit list for making your first container candle:
- Wax — soy wax flakes are the best choice for beginners. They’re easy to work with, clean-burning, and hold fragrance well. We recommend starting with soy wax flakes in 1–2kg bags.
- Wicks — pre-waxed cotton wicks with sustainers (the little metal tabs at the bottom) are the easiest to use. Choose the right size for your container diameter — we cover this in detail in our wick guide.
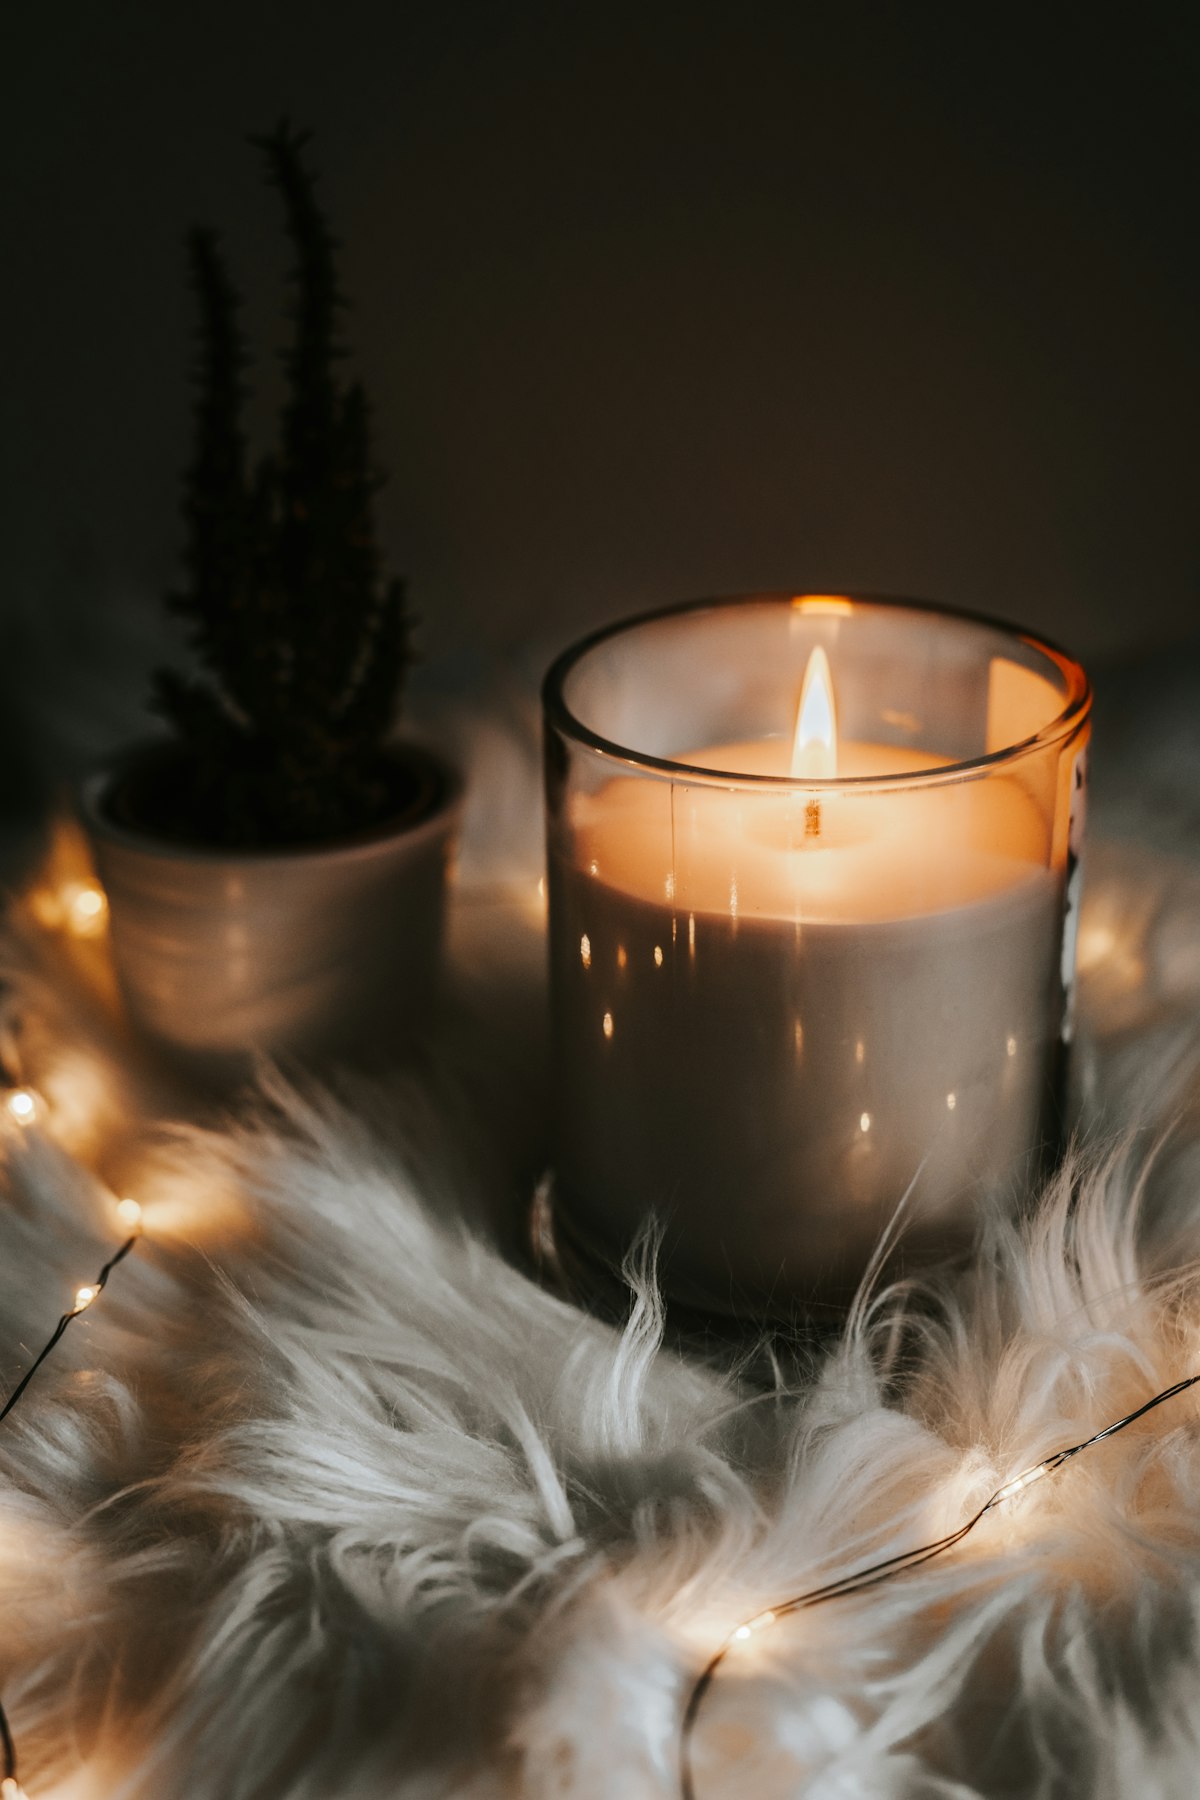
- Container — glass jars, candle tins, or ceramic pots. Make sure whatever you choose is heat-resistant. Browse our containers and jars for ideas.
- Fragrance oil — optional but recommended. A good fragrance oil transforms a plain candle into something special. Start with 6–10% fragrance load by weight.
- Thermometer — you need to monitor your wax temperature for proper pouring and fragrance binding. A simple dial thermometer works perfectly. Check our tools section for options.
- Double boiler or wax melter — a heatproof jug inside a saucepan of simmering water works fine. If you’re going to make candles regularly, an electric wax melter is a worthwhile upgrade.
- Wick holders or chopsticks — to keep the wick centred while the wax sets.
- Kitchen scale — wax and fragrance are measured by weight, not volume.
If this list feels like a lot, don’t worry — a candle making kit bundles everything together and is a great way to try candle making without buying each item separately. We’ve reviewed the best candle making kits in the UK to help you choose.
Choosing Your Wax
The wax you choose affects everything — how your candle burns, how it holds fragrance, and how it looks. Here are the main options available in the UK:
Soy wax is the most popular choice for beginners and for good reason. It melts at a low temperature (around 45–50°C), it’s forgiving if you make mistakes, and it produces a clean burn with minimal soot. Brands like Golden Wax 464 and TRINIDa SoyPRO are widely available on Amazon UK. For a deeper comparison, read our guide on making soy candles.
Coconut-rapeseed blends like Kerax are increasingly popular with UK candle makers. They offer a beautiful creamy finish and excellent scent throw, though they’re slightly more expensive than pure soy.
Beeswax has a gorgeous natural honey colour and subtle sweet scent. It burns longer than soy but is harder to add fragrance to. It’s best for pillar candles and unscented votives. Learn more in our beeswax candle guide.
Paraffin wax is the traditional candle wax. It’s cheap and holds colour and fragrance brilliantly, but it’s petroleum-based and produces more soot. Many hobbyist candle makers prefer soy or coconut blends for a more natural product. We compare the two in our soy vs paraffin guide.
For your first candles, we recommend soy wax flakes. They’re affordable, widely available in the UK, and very beginner-friendly.
Step-by-Step: Making Your First Soy Candle
Right, let’s make a candle. This method works for a standard container candle — a glass jar or tin.
Step 1: Prepare Your Container
Clean your jar or tin and make sure it’s dry. Use a wick sticker or a small dab of melted wax to fix the wick sustainer to the centre of the bottom. Press it down firmly. Place a wick holder bar or two chopsticks across the top of the jar to keep the wick straight and centred.
Step 2: Measure and Melt the Wax
Weigh your wax flakes. As a rough guide, you’ll need about 80% of your container’s volume in wax (wax shrinks slightly as it cools). For a standard 200ml jar, start with around 160g of soy wax.
Melt the wax using a double boiler: place a heatproof jug or pouring pitcher inside a saucepan of gently simmering water. Add the wax flakes and stir occasionally. Use your thermometer to monitor the temperature — you want to reach around 80–85°C for fully melted soy wax.
Never melt wax directly over a flame or in the microwave. Always use a double boiler or a dedicated electric wax melter.
Step 3: Add Fragrance Oil
Once the wax is fully melted, remove it from the heat and let it cool to around 60–65°C. This is the ideal temperature for adding fragrance oil to soy wax — hot enough to bind properly, but not so hot that the fragrance evaporates.
Add your fragrance oil at 6–10% of the wax weight. For 160g of wax, that’s roughly 10–16ml of fragrance oil. Stir gently and continuously for about two minutes to make sure the fragrance is evenly distributed throughout the wax.
Want to learn more about getting the perfect scent? Read our guide on making scented candles and our explanation of fragrance load.
Step 4: Add Dye (Optional)
If you want coloured candles, now is the time to add your dye. Candle dye blocks or liquid dyes work best — shave off a small amount of a dye block, or add a few drops of liquid dye, and stir well. Start with less than you think you need — the colour will deepen as the wax cools.
Step 5: Pour the Wax
Let the wax cool to the recommended pouring temperature for your wax type. For most soy waxes, this is around 55–60°C. Pouring too hot causes problems like sinkholes and poor adhesion.
Pour the wax slowly and steadily into your prepared container. Leave about 1cm of space at the top. Keep the wick centred using your wick holder.
Top tip: reserve about 10–15% of your melted wax for a second pour. Soy wax often develops small sinkholes as it cools. Once the first pour has fully set (usually 4–6 hours), poke a few relief holes around the wick with a cocktail stick and pour a thin top-up layer to create a smooth, flat surface.
Step 6: Cure and Trim
Let your candle cure for at least 48 hours before burning — ideally a full week for soy candles. Curing allows the fragrance to fully bind with the wax and gives you a much stronger scent throw.
Before lighting, trim the wick to about 5–6mm. This prevents mushrooming (a carbon ball forming on the wick tip) and gives you a cleaner, more even burn. If you encounter wick issues, our guide on choosing the right wick can help.
Common Beginner Mistakes (And How to Avoid Them)
Every candle maker makes these mistakes at first. Here’s how to avoid the most common ones:
Pouring too hot: If you pour the wax above the recommended temperature, you’ll get sinkholes, wet spots (gaps between the wax and the glass), and poor scent throw. Always check the temperature with a thermometer — don’t guess.
Wrong wick size: A wick that’s too small won’t melt the wax all the way to the edges, causing tunnelling. A wick that’s too big will burn too fast, produce excess soot, and could overheat the container. Our wick guide explains how to match wick size to container diameter.
Too much fragrance: More isn’t always better. If you exceed the wax’s fragrance capacity, the oil can seep out, the candle can burn unevenly, and you might get poor scent throw. Stick to the manufacturer’s recommended fragrance load — usually 6–10% for soy wax.
Not curing long enough: We know it’s tempting to light your candle straight away, but give it time. An uncured candle will have a weak scent throw. A week of curing makes a real difference.
Rushing the first burn: The first time you light a new candle, let it burn until the melt pool reaches the edges of the container. This usually takes 1–2 hours. If you extinguish it too early, the candle will “remember” that burn pattern and tunnel on subsequent burns.
What to Make Next
Once you’ve mastered a basic container candle, there’s a whole world of candle making to explore:
- Soy candles — dive deeper into working with soy wax
- Jar candles — explore different container styles and techniques
- Wax melts — a wick-free alternative that’s great for fragrance lovers
- Pillar candles — freestanding candles that require moulds
- Tealight candles — quick, easy, and perfect for gifts
- Scented candles — master the art of fragrance blending
And when you’re ready to take it further, our guide on starting a candle business in the UK covers everything from CLP labelling regulations to pricing and selling your candles.
Recommended Equipment
We’ve tested and reviewed the most popular candle making supplies available in the UK. Here are our top recommendations to get you started:
- Best candle making kits UK — complete starter sets reviewed
- Best soy wax for candle making UK — our top wax picks
- Best candle making thermometers — accurate temperature monitoring
- Best fragrance oils for candle making UK — scents worth trying
- Best wax melters UK — electric pots compared
Happy candle making! If you have questions, drop us a message via our contact page — we love hearing from fellow candle makers.